How to Add Android Apps to Windows 11?
Microsoft has introduced the ability to add Android apps to Windows 11 operating system computers. Here’s how to add Android apps to Windows 11!
Adding Android apps to Windows 11 is very important for the efficient use of the computer. Thanks to this process, many Android applications can be used on a Windows 11 operating system computer. But for this, Windows 11 must be used in the latest version.
In our article, we will talk about adding and running Android applications that will give more functionality to computers with Windows 11 operating system.
Adding Android Applications to Windows 11
- First, if the latest version of Windows 11 is not installed on the computer, it must be installed.
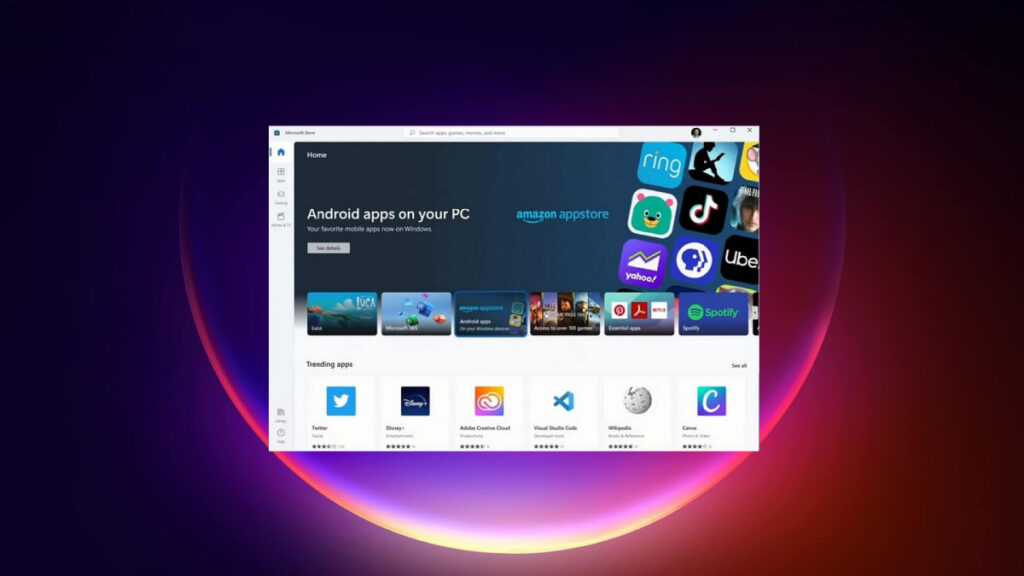
- Open Microsoft Store from the computer with Windows 11 operating system and proceed to the next step.
- Search for the Android application to be installed and click on it.
- Click on the “Install” button to download the Android application to the computer.
- After the installation process is completed, restart from the “Start” menu in Windows 11 or from the taskbar.
- The Android application opens in a window directly on the desktop.
After the process of adding Android applications to Windows 11, you should pay close attention to the following points: Once the application is opened in the window, it must be controlled with the mouse or keyboard.
However, it is necessary to make some adjustments to determine whether some Android applications run smoothly on Windows 11. Even some additional permissions must be granted.
Those who have problems with running any Android application should first change the settings. If the problem persists, contact the application developer for help.
How to Run Android Apps on Windows 11?
Intel Bridge Technology is utilized to run Android applications on Windows 11. Intel Bridge Technology transmits what to do with the code in the application to computers with Windows 11 operating system.
Without Intel Bridge, the computer does not understand the uploaded documents. This prevents Android applications from running. Intel Bridge compiles the application code and makes some changes.
After the applications are run via Intel Bridge, they are displayed on Windows search, desktop and “Start Menu”.
After Android applications are added to the Windows 11 operating system computer, users may encounter some problems. One of the most common problems is “Windows subsystem fails to initialize”. The Windows subsystem cannot be started problem can be solved as follows;
- Open “Settings” on the computer.
- Go to “Applications > Optional features”.
- Scroll down the screen to find “Other Windows Features” and click on it.
- Enable “Virtual Machine Platform” from the optional features below. Then click on the “OK” button.
It is possible that the above steps have been followed exactly and the problem is still not resolved. If the problem is not resolved, the Windows Hyper-V (Hyper) Admin Platform should have been enabled.